Replacing rotten Cedar posts again, but this time with the intent to replace all of the fence. There are several reasons that I don't want to totally remove the old fence, and start from scratch. First is to preserve the original fence line. This is a repair, and not a new installation, so I want to mimic the original fence mostly. But, second, and more important is to maintain the containment. Dior would love an opportunity to bust through the fence and run freely. Then she could get all the rabbits.

Another reason is that I mostly work on the fence alone. I have to do this work in portions because this project is so big. When I have to install posts it might take a weekend to do one fence panel. This time I am working on a corner panel and it needs four posts. The work on this corner allow me to complete another panel to the south of the corner. This project took most of two weekends.


This is not a new idea, but I am fixated on my old Cedar fence that I am working on at the moment. I'm sure it was once a very pretty Cedar fence for maybe a couple years after it was built in the ? mid-1990s? When we bought the house in 2002 this fence was always pretty tired and I have been working on it since then.

The difference is that now I am replacing the Bones of the fence, and renewing whole panels. The new Bones are all pressure treated lumber rated for ground contact. I have used both natural Cedar posts, and the pressure treated posts, and the PT Post is always better. I've also started coating the posts before planting them.

The pressure treated wood has to be dry before it will take the Stain/Sealer. So I have to purchase the lumber in advance, give it time to dry, coat it, dry some more, and then we can plant them. The project this weekend was to setup a station to do this that isn't in the way of regular things that have to happen like lawn service. My patio work table is going to hold the lumber in a sunny place for drying.

Then the temporary table is under the eaves to be the Stain Station. I have a fairly large patio, so I think I can work around this stuff for a while.


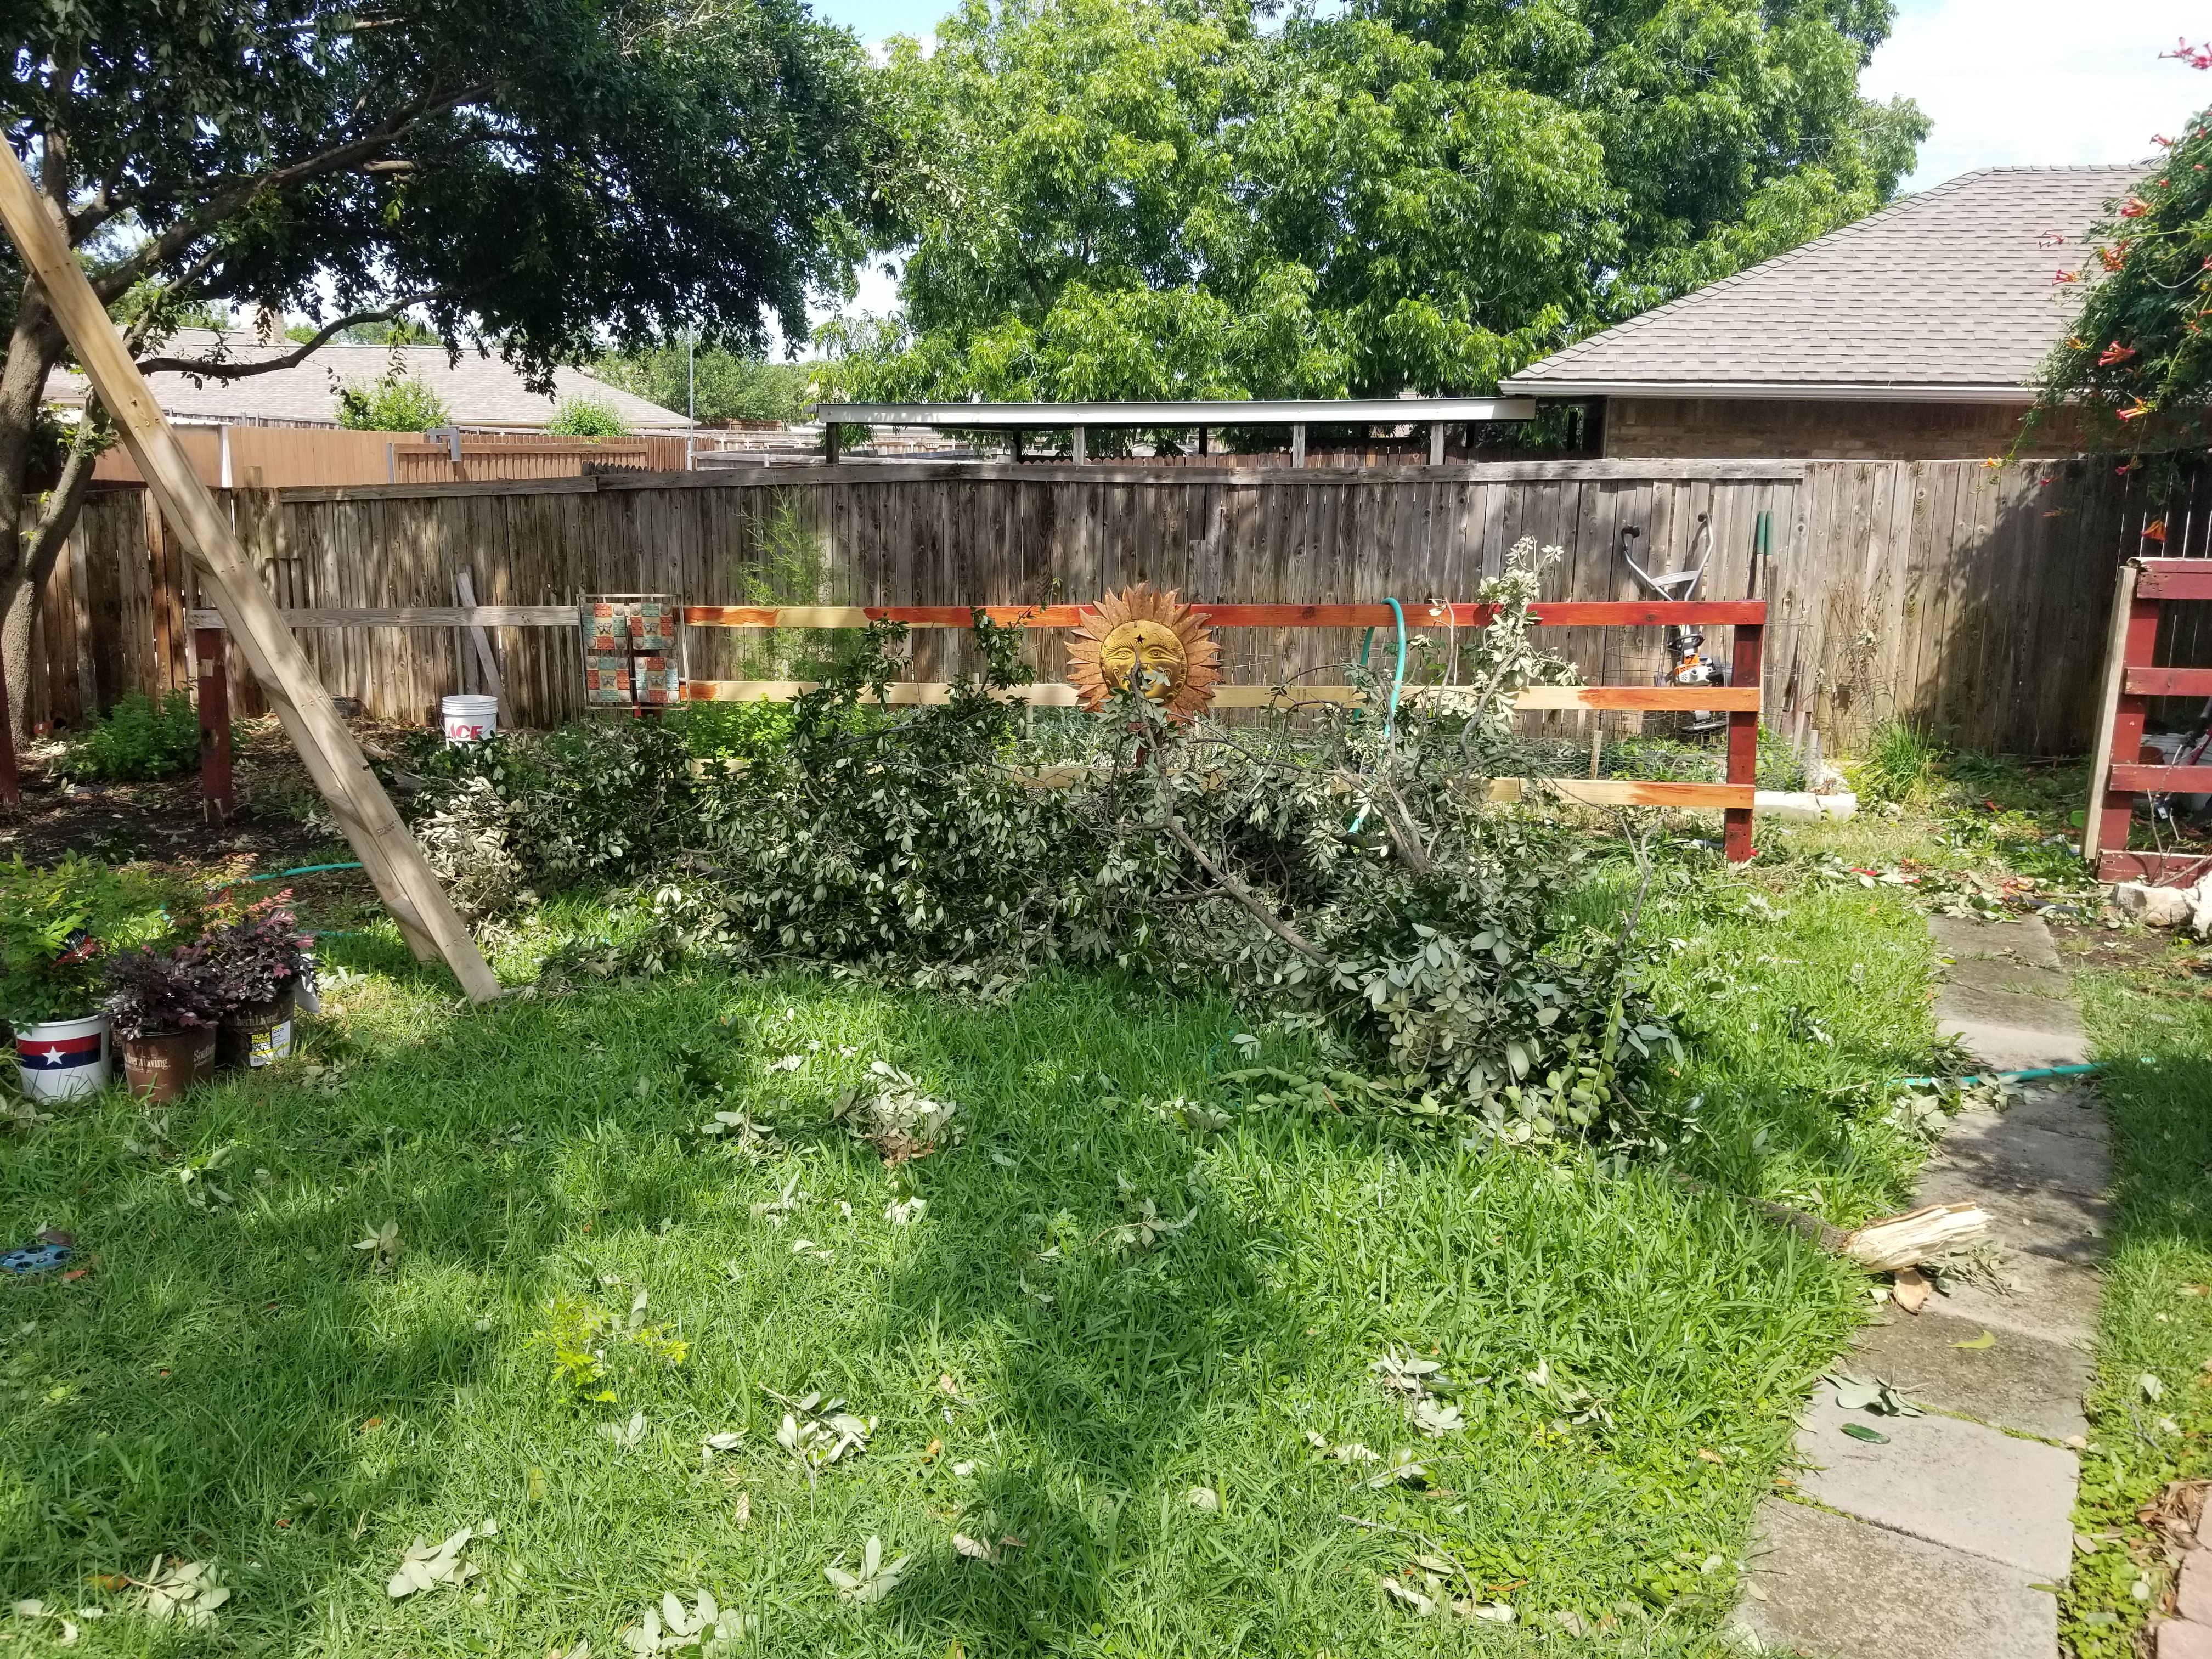
This is the inside of the Northwest corner that I have renewed over the last few weeks. It is sitting on the same fence line as before. I built the new Bones on the outside of the posts while the old bones were on the inside of the posts. So, for a while both fences existed in the same space. I add the new posts, and attach them to the old fence temporarily. Then we build the new fence on the outside. As the new fence comes together we start disassembling the old fence on the inside. The net effect is that we replace the fence without demolishing the old fence, and leaving the yard open. Then also the design of the fence changes, making it several times stronger.

One of the features that I have built into this fence are the Dog Boards which are designed to discourage animals from attempting to burrow under the fence. But I have another deterrent that may be more effective, Dior. She loves them furry little critters... Wants to give them some kisses... Carrollton city code says that the fence Bones should be on the inside of the planks. But you can put planks on both sides of the runners to have that clean look inside and out. What I am talking about is a Shadow Box fence design. This is another feature I plan on adding to improve air flow through the fence. We have had some issues with strong winds lately, and one of my objectives is to reduce the wind resistance of the fence in general.