Springtime, planting season, time to Till, lol. The northern most bed in my garden is a raised box made from lawn timber. It is old, starting to rot, and fall apart. So I decided to remove the wood, and make a raised be with open sides. Not having the wood around the be reduces the cost a lot. Harley is helping to Till the bed.
This year I am going to expand this bed also. You can see the compost bins at the top of the picture. I am going to take out the strip of grass between the bed, and the compost bins, and expand the bed to be ten feet square. as it is now it is four feet by eight feet.
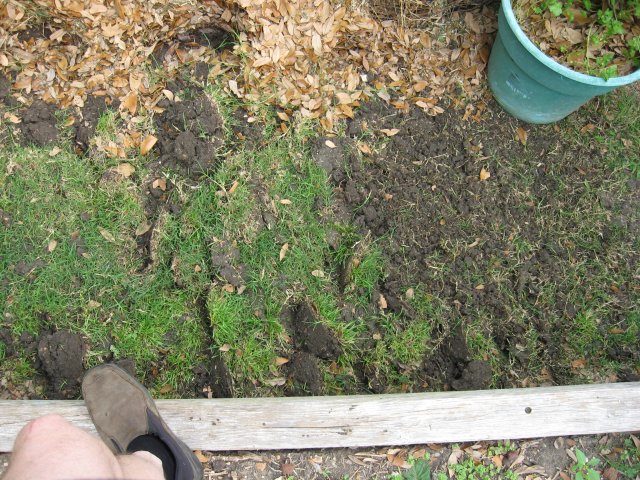
First the grass has to go. It is a mixture of Bermuda and Rye. I'll take a spade and loosen up the sod. This strip of grass has the hard Texas clay soil under it, so this is no easy task. But doing it right is important, so I will pick through every bit of it to get the Bermuda, and Rye out of it. All the scraps can go in the composter.
Dusty loves to help whenever I am digging in the dirt. The reason is she loves to eat Grub Worms. They are a fine delicacy for her. Whenever I am tilling she will be right there.
Once all of the grass is removed then we can start working the base of the bed. The soil is broken up pretty good from removing the grass, and I will start adding some compost, and mixing.
I am breaking in to the compost bins that have been accumulating over two years. I'll pull the top off to the backside, and take the bottom of the heap to add to the new bed. The bottom of the compost pile is where the good stuff is. Microbes, Insects, and even some small Garter snakes are in there.
Next I will break down the old rotted box. It is still a raised bed, but there won't be a box around it.
I add some compost, and mix it in. The add more compost, and mix it in. It has to be mixed well in order to help out that Texas clay soil. It also takes a few years of conditioning like this to get really good soil.
Now I have all the old wood out of the way, and smoothed out the bed.It doesn't seem raised, but it is.
Then I'll add another layer of compost. I added more than a cubic yard of compost to this bed.
Is this starting to look tedious? I spent three days preparing this bed, and my back certainly feels it.
This bed will be for the Tomatoes and Chiles this year. It is also probably the most ambitious single bed that I have prepared. Every year the garden gets a little bigger. This one bed is one hundred square feet.
As I plant each plant I add a support cage and mulch the plant with the same compost I put in the soil. The nutrients from the compost will trickle down into the soil when I water the garden.
The piece of plywood is there to distribute my weight when I am planting the middle of the garden. This is so I don't compact the soil. I spent a lot of time mixing, and I don't want to undo that effort. The plants grow a lot easier when the soil is loose, and not compacted.
There is Dusty, inspecting my work, and looking for Grub Worms.
Then here is the finished bed with six Tomato Plants and ten Chile Plants.
Here it is two weeks later, already with some baby Tomatoes and Chiles...
Here it is about a month later.


 Here it is two weeks later, already with some baby Tomatoes and Chiles...
 Here it is about a month later.

That looks good Mike
ReplyDeleteJackson & Patti