Part of getting the right nutrition is letting the Earth know what you need, then it can provide it. This is the whole reason for growing your own vegetables.When you work the Earth, put your hands in the soil you are making a connection with the Earth, and all the things that live in it. Which, yes, includes a plethora of insects, and micro-organisms. It is very important that they know you. They will work for you if you let them. This is my latest batch of Kimchi, made with homegrown Cabbage.

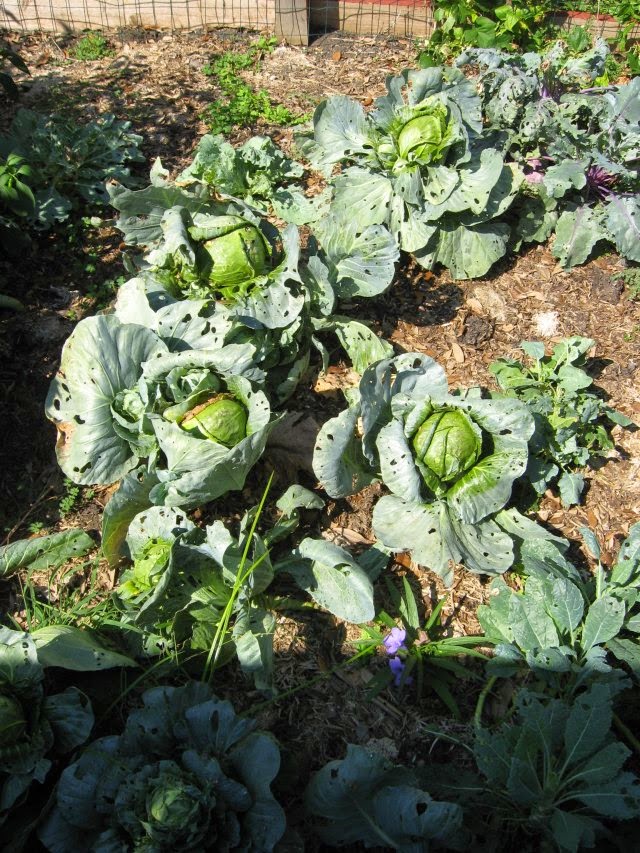
I've been working this garden for 12 years, so it knows me well. I am delighted to have a vast insect culture, and large healthy Earth Worms, so I know that I have a great micro-organism culture, and healthy organic soil. I don't use pesticides, or chemical fertilizers, but there is a distinct lack of pest insects, such as Fire Ants. This is because of the thriving beneficial insect culture. I let Wasps stay in my garden because they feed on Cabbage Worms. This is where Organic Gardening differs from modern Gardening.
Organic plants are not as pretty as plants treated with pesticides, and chemical fertilizers, but the difference is the rich abundance of natural enzymes, and beneficial micro-organisms. Organic plants provide you with these beneficial micro-organisms, especially if you work the Earth, and grow your own. These are things that are not available in processed food, or even commercially raised food. Its the difference between health, and superlative health.
The neat thing about Cabbage is you can lop off the top of the plant, and leave the root, and it will grow more cabbages. Free Food! Whoo Hoo! Now these plants are kinda chewed, which is OK. We can peel back the layers, to reveal the dense heads. Don't be afraid of the insects, they are there to help.
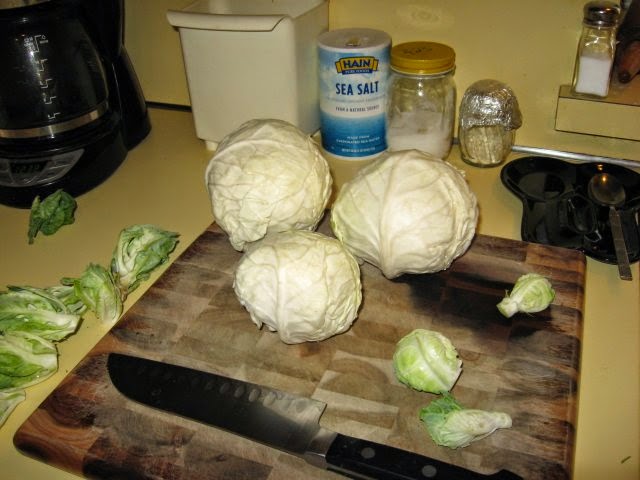
There are many insects living on, and around the Cabbage. Pill bugs, Spiders, a few Cabbage Worms, and the like. Just peel them away with the outer layers of the Cabbage. I try to do this in or around the Garden to keep the insects in close proximity to their home. The outer leaves are rich with nutrients, and can be composted back into the garden.
As you peel back they layers you will also find some more Cabbage Sprouts, which grow like Brussels Sprouts. Cabbage, and Brussels Sprouts are closely related, and are probably cultivars of a similar ancestor. I'm growing Brussels Sprouts as well, and will probably do something like Kimchi with them.
After I get the Cabbages cleaned up, I will chop them, and soak the shredded Cabbage in a 5% Salinity Brine for several days. When I am ready to make the Kimchi I'll drain the Cabbage, reserving the Brine, and make a Chile Paste for the Kimchi with dry Chiles, Garlic, Ginger, Fish Sauce, and some of the Brine. This time I used Pasilla Chiles, and it gives the Kimchi a brownish color. Kinda weird for Kimchi, but it tastes great, and has superior nutritional value because of the old, yet advanced technique of organic gardening, mixed with Lacto-Fermentation. Turns out what is old is right, and modern techniques leave something to be desired.